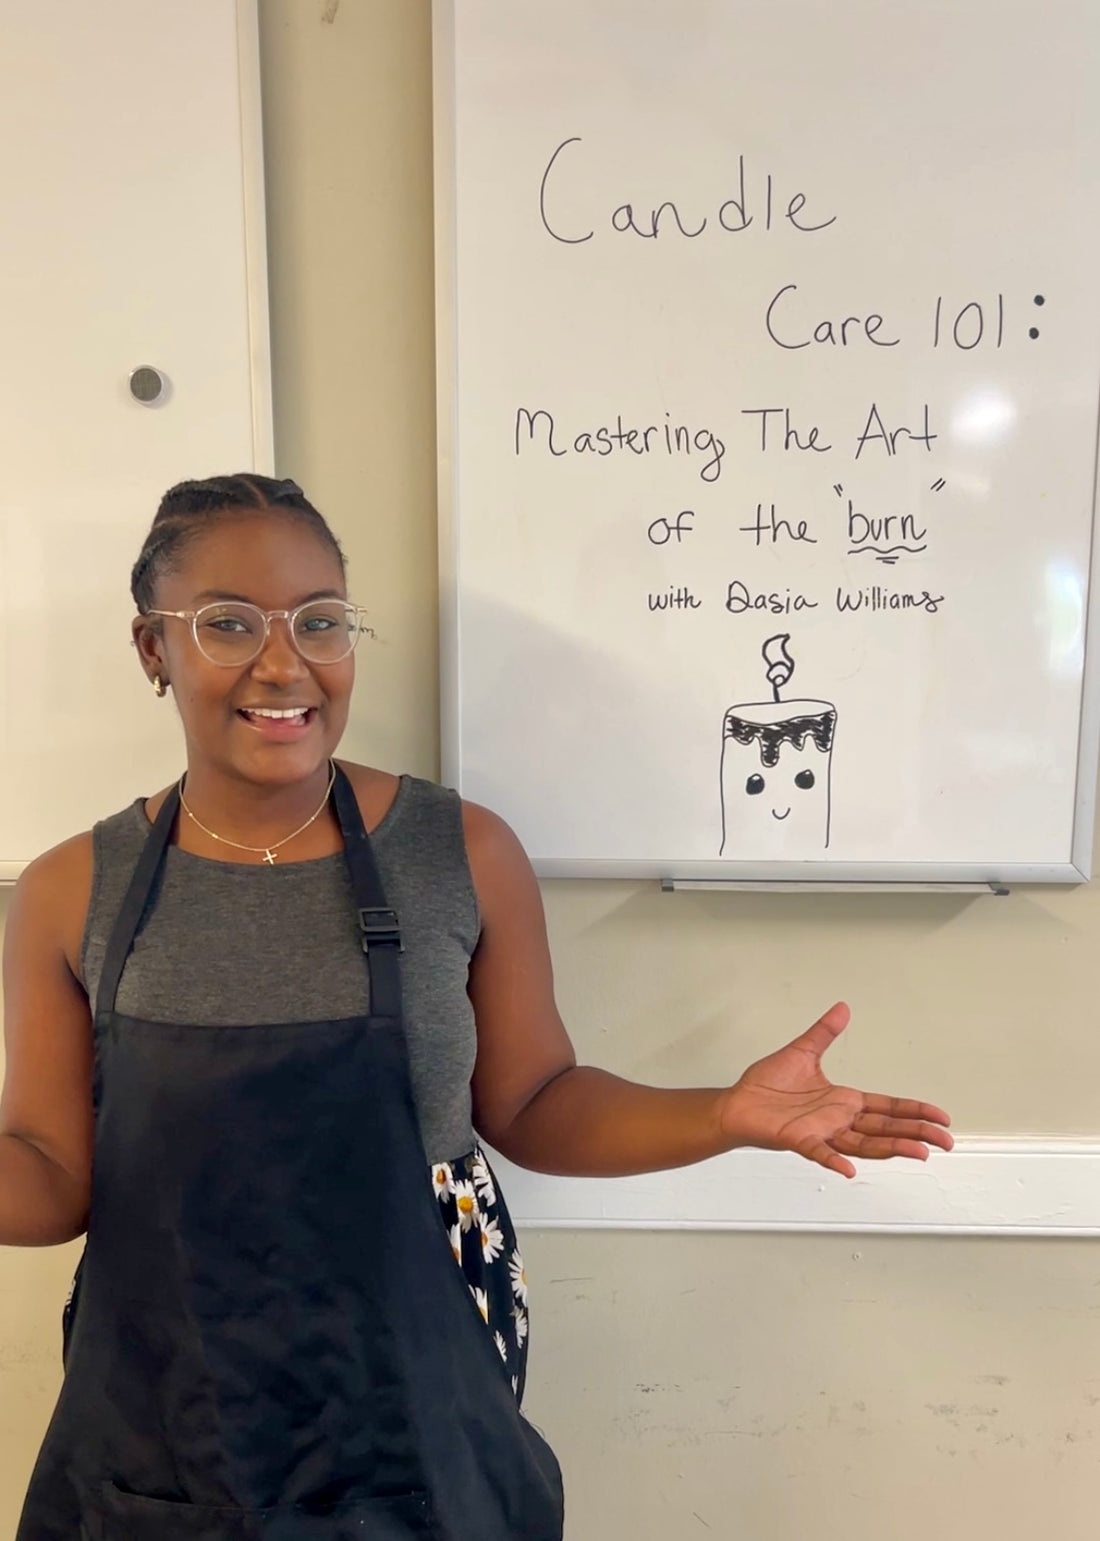
Welcome to Dasia’s Candle Care 101 – because your candles deserve some TLC, too!* 🕯️✨
Hey Candle Lovers! 👋
It’s your girl, Dasia, here to drop some flame-worthy tips on how to master the art of the burn with BE Light Candles.
We’ve all been there—lighting up that gorgeous candle only to watch it burn...well, not so perfectly.
But fear not! After this blog, you'll be a pro at giving your candles the care they need to burn longer, brighter, and better. Let’s dive in! 🔥
Trim That Wick! ✂️
The Rule: Trim your wick to ¼ inch before each burn.
I know, I know—scissors near your candle sounds a little dramatic, but trust me, this is step #1 to a perfect burn! A too-long wick = a smoky mess and uneven burn. You want that flame to stay lit and last, so snip away, friend! 💨
Let It Melt Evenly 🕯️
The Rule: Always allow the wax to melt all the way to the edges on the first burn (and every burn after).
In candle lingo, this is called a full melt pool. Why is it important? Because it prevents tunneling (aka that annoying hole down the center) and ensures every ounce of your candle gets the love it deserves. So let that wax get its stretch on during the first burn—patience is key! ⏳
Say No to Drafty Drama 🌬️
The Rule: Keep your candle away from drafts.
That flickering flame may look dreamy, but if your candle is near an open window or air vent, it’s headed for trouble. Drafts cause uneven burns and can make your flame go haywire. Let your candle live its best life in a draft-free zone! 🏡
Know When to Call It Quits 🚫
The Rule: Don’t burn your candle all the way down to the bottom.
You know that ½ inch of wax at the bottom? That’s your candle’s way of telling you, “Hey, I’ve had a good run, but it’s time to stop.” Burning all the way to the bottom can damage your candle jar and overheat the surface it's on. Be a hero and extinguish that flame once you hit the last half-inch! 🔚
Keep It Clean 🧼
The Rule: Wipe down your candle jars if you notice soot.
No shame—soot happens! If your candle jar is looking a little smoky, just give it a gentle wipe. Soot is usually a sign you need to trim that wick, but keeping your candle jar clean ensures your candle stays as beautiful as the day you unboxed it. 🌟
Time It Right ⏲️
The Rule: Burn your candle for at least 2-3 hours at a time, but no more than 4.
This might sound extra specific, but hear me out! Burning your candle too short? You’ll get that dreaded tunneling. Burn it too long? Your wick will “mushroom” and create excess soot. The magic number is 2-3 hours for a clean, even burn. 🎯
Bonus Tip: Reuse & Recycle ♻️
When your BE Light Candle has had its moment, don’t toss the jar! These beauties make amazing holders for jewelry, makeup brushes, or even a mini succulent. Talk about giving your candle a second life! 🌱
And there you have it—your Candle Care 101 crash course!
For a full visual guide on mastering the art of the burn, check out my *Candle Care 101* series on BE Light's Instagram. Your candles (and your nose) will thank you. 😉
Happy Burning!
Stay cozy and light up your life, one perfect burn at a time.
- Dasia 🕯️
P.S.
If you haven’t snagged your fall favorites like *Pumpkin Soufflé* or *Chai & Chat* yet, what are you waiting for? They’re burning out fast! Shop our fall collection here! 🍂✨
